
Run a single event
A one-off on a set date, like a Friday social or a one-evening workshop. There is no weekly pattern to set, just the one date and time.
- Step 1
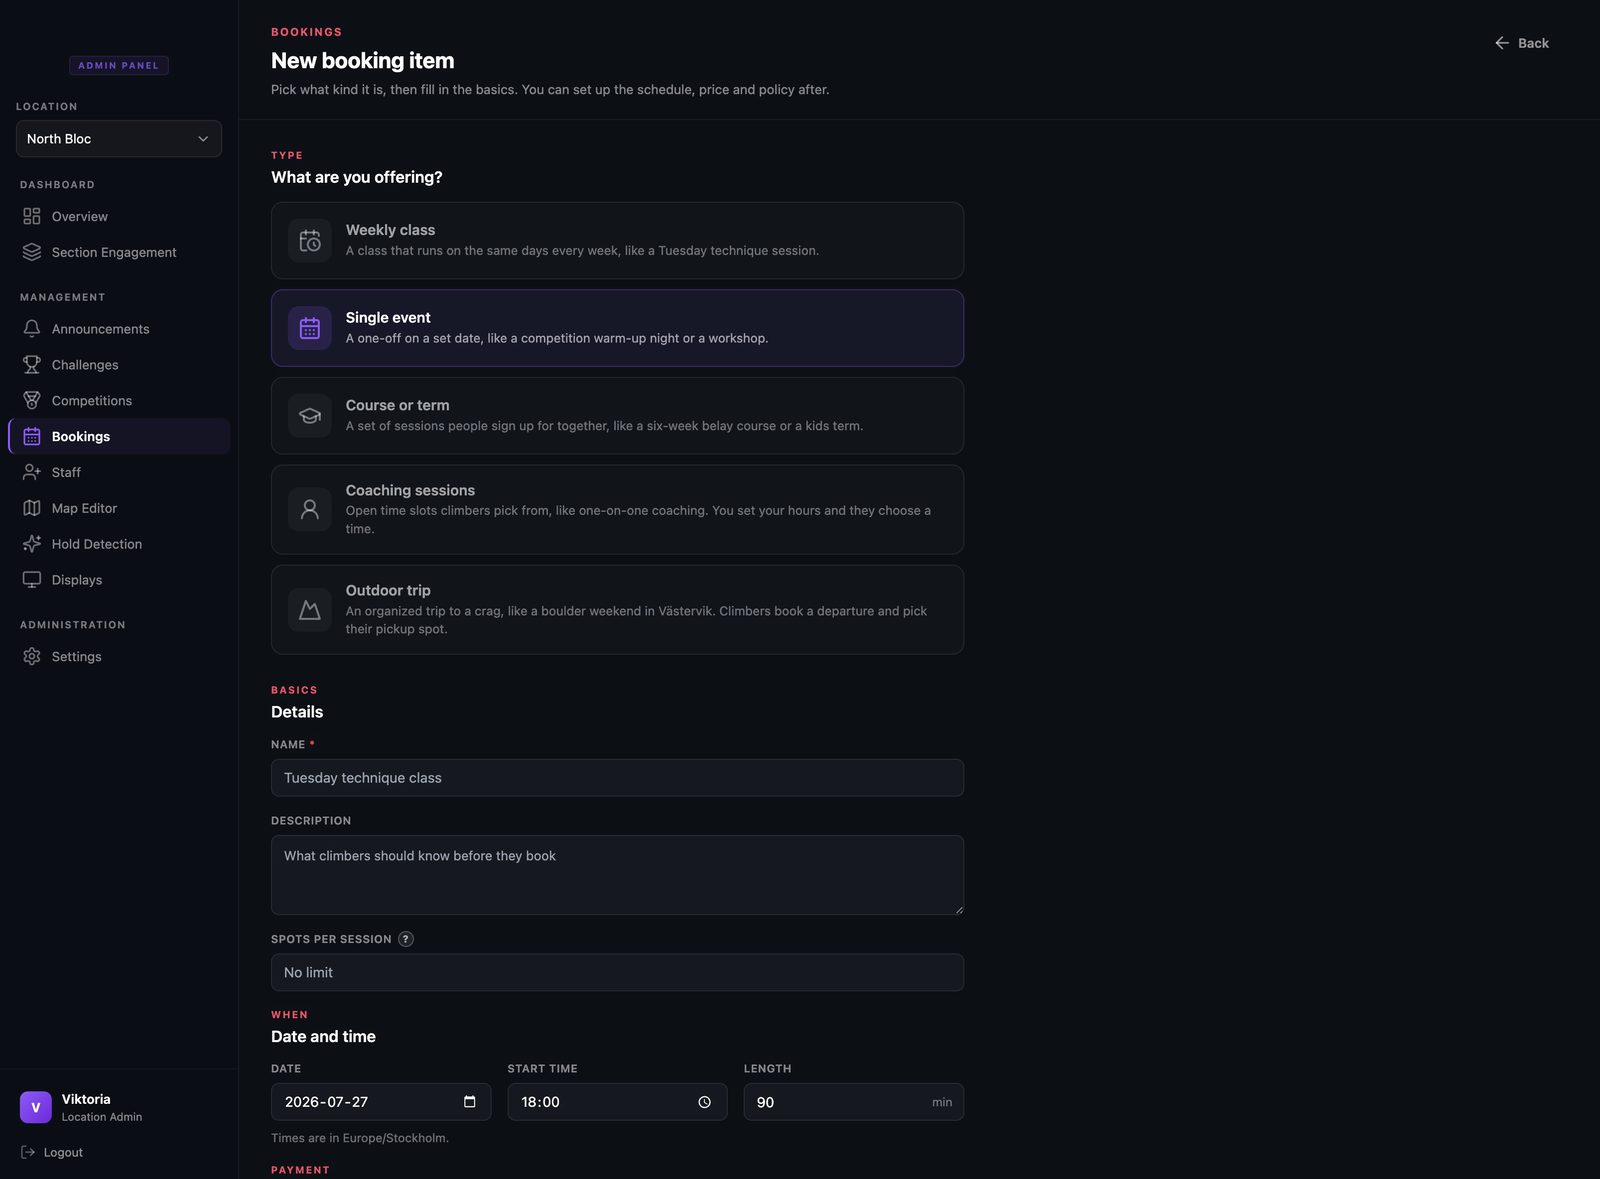
Choose Single event
Start a new booking item and pick Single event. This is the right type whenever it happens once rather than every week.
- Step 2
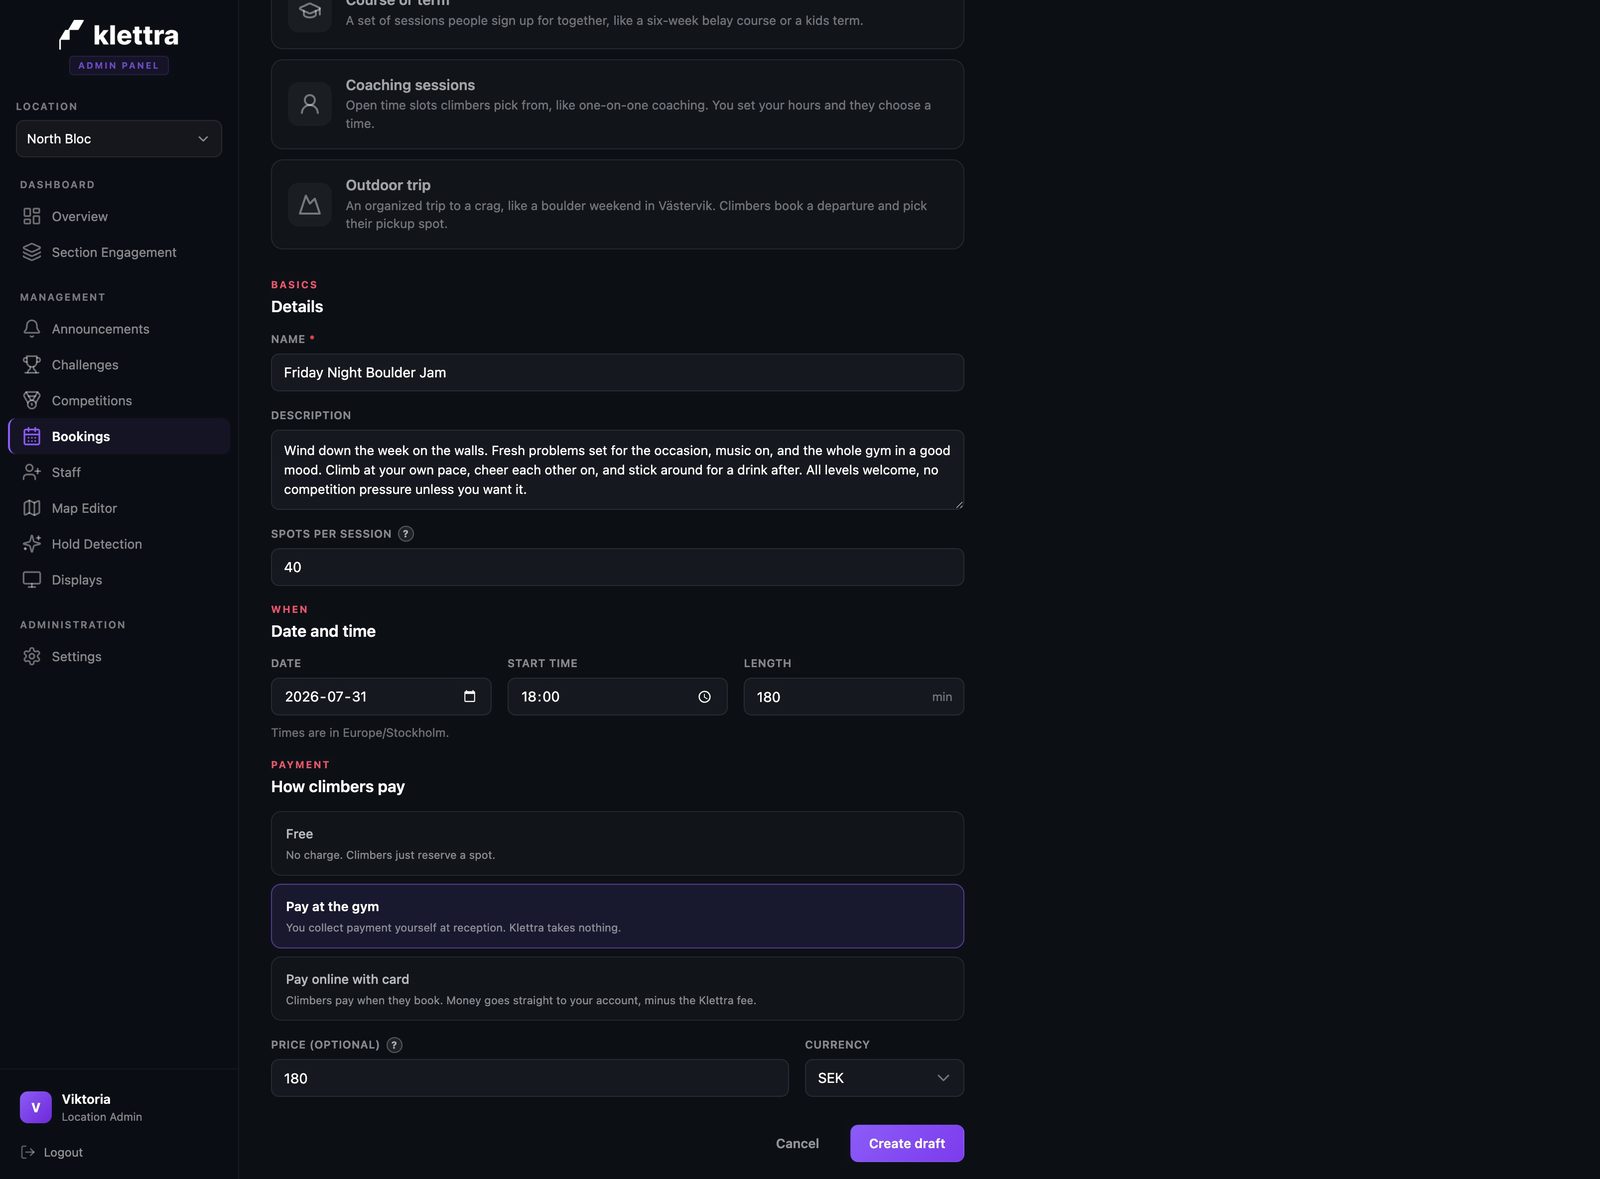
Set the one date and time
Because it happens once, the date and time live right in the setup. There is no schedule tab to fill in and no pattern to describe, just the day it runs and when it starts and ends.
- Step 3
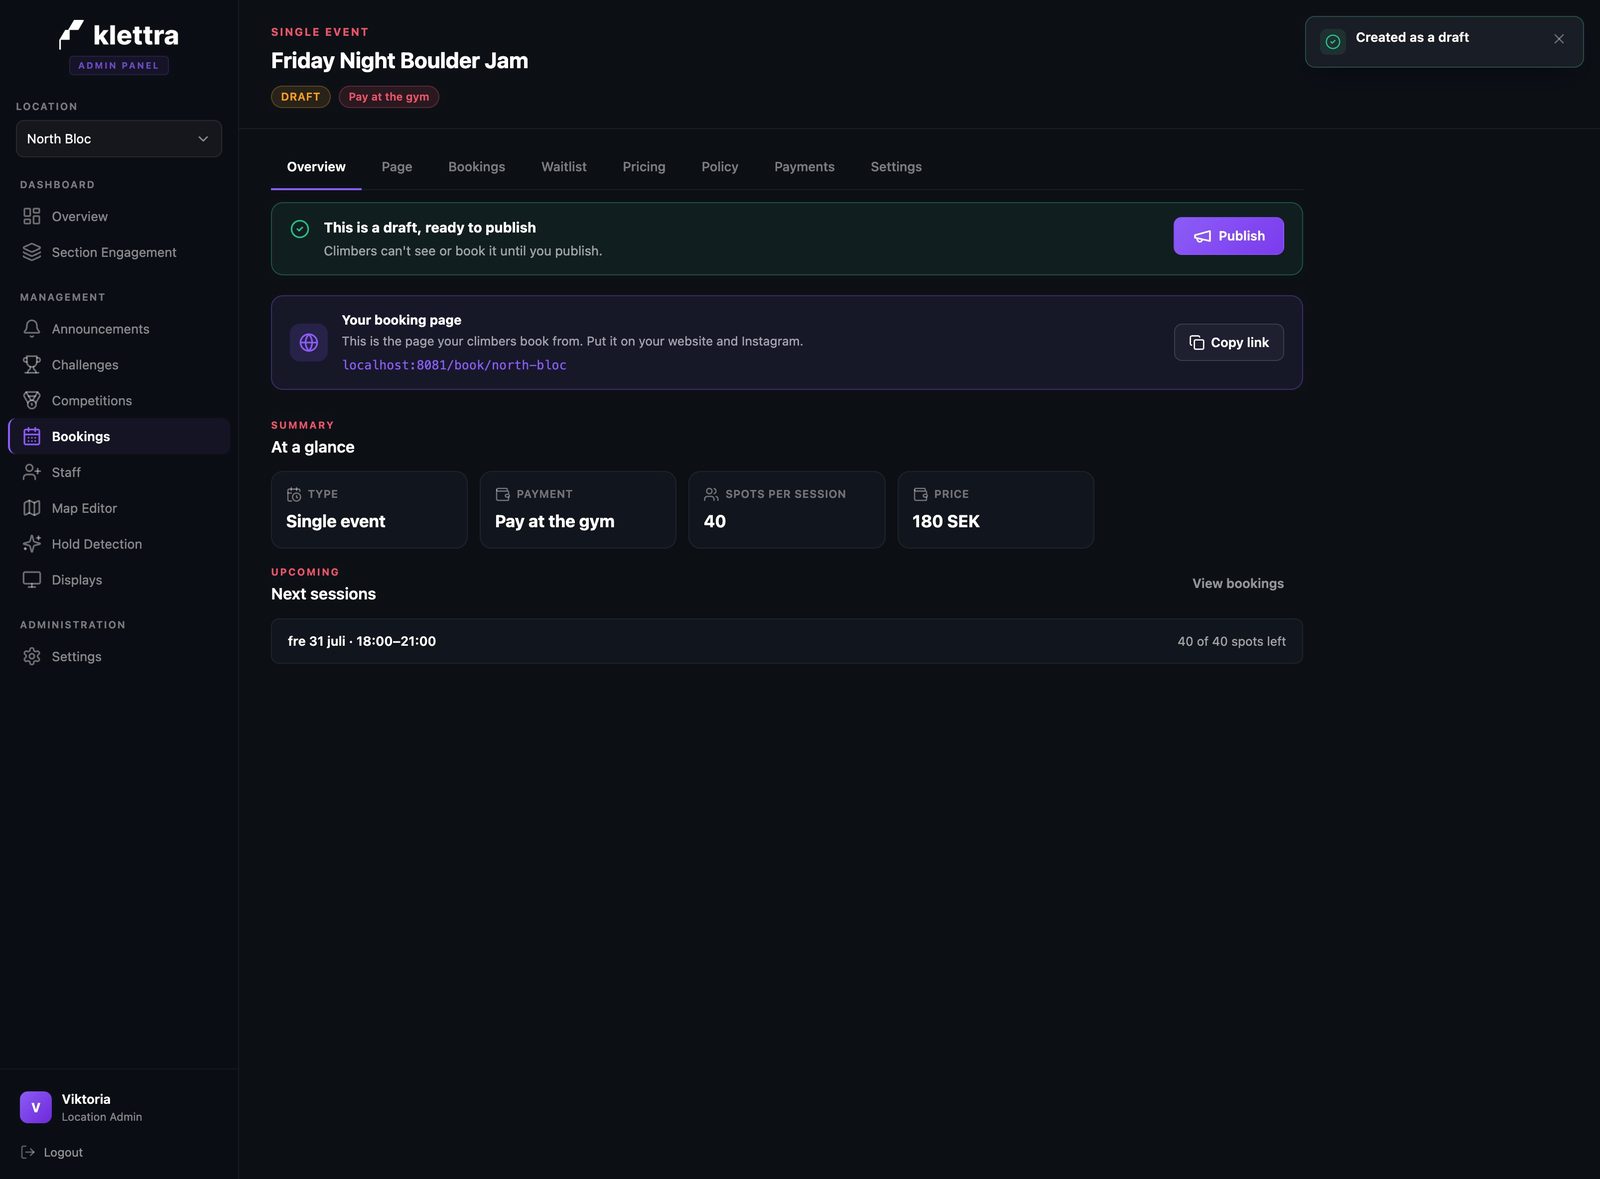
Decide how people pay
An event can be free, paid at the gym, or paid online. Set to pay at the gym, nothing runs through card payment and there is no payment setup to do. You take the money at the door as usual, and the booking simply holds the spot.
- Step 4
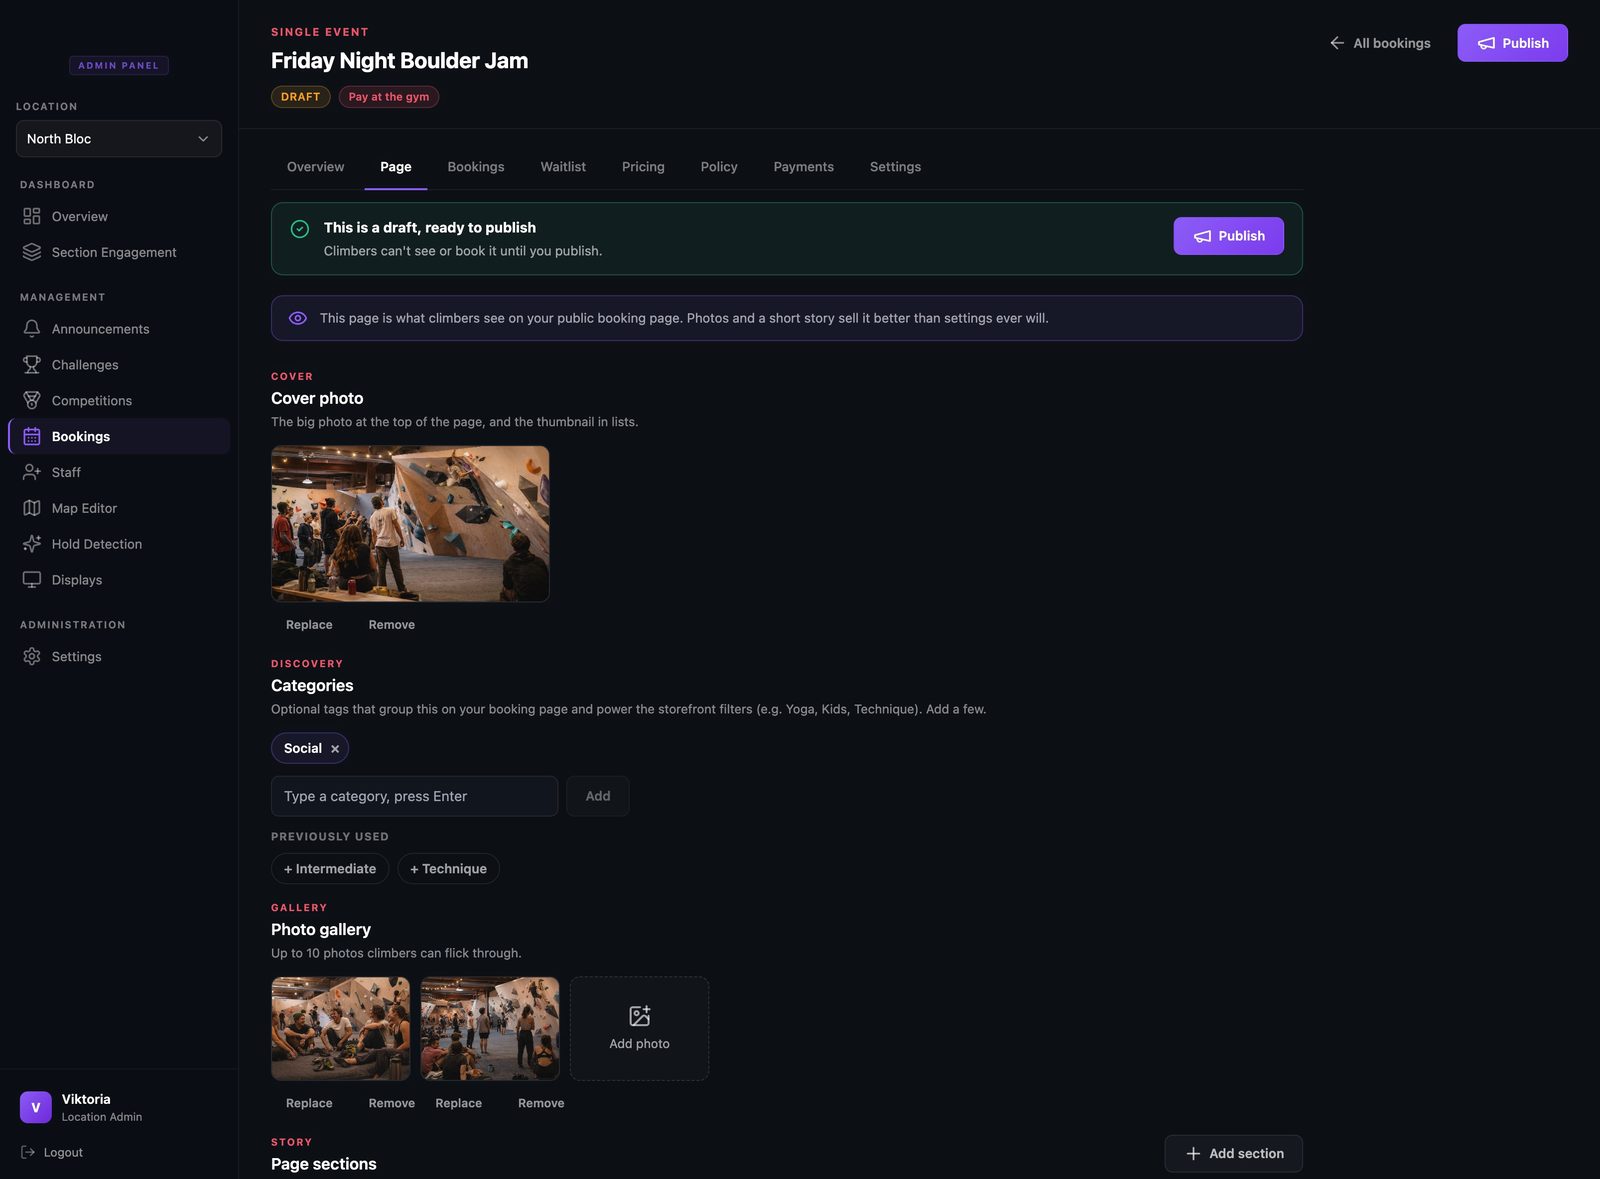
Add photos and a category
On the Page tab, add a cover photo, a couple of gallery shots, and a category tag such as Social. The tag is also what lets climbers filter for it on your booking page.
- Step 5
See the public event page
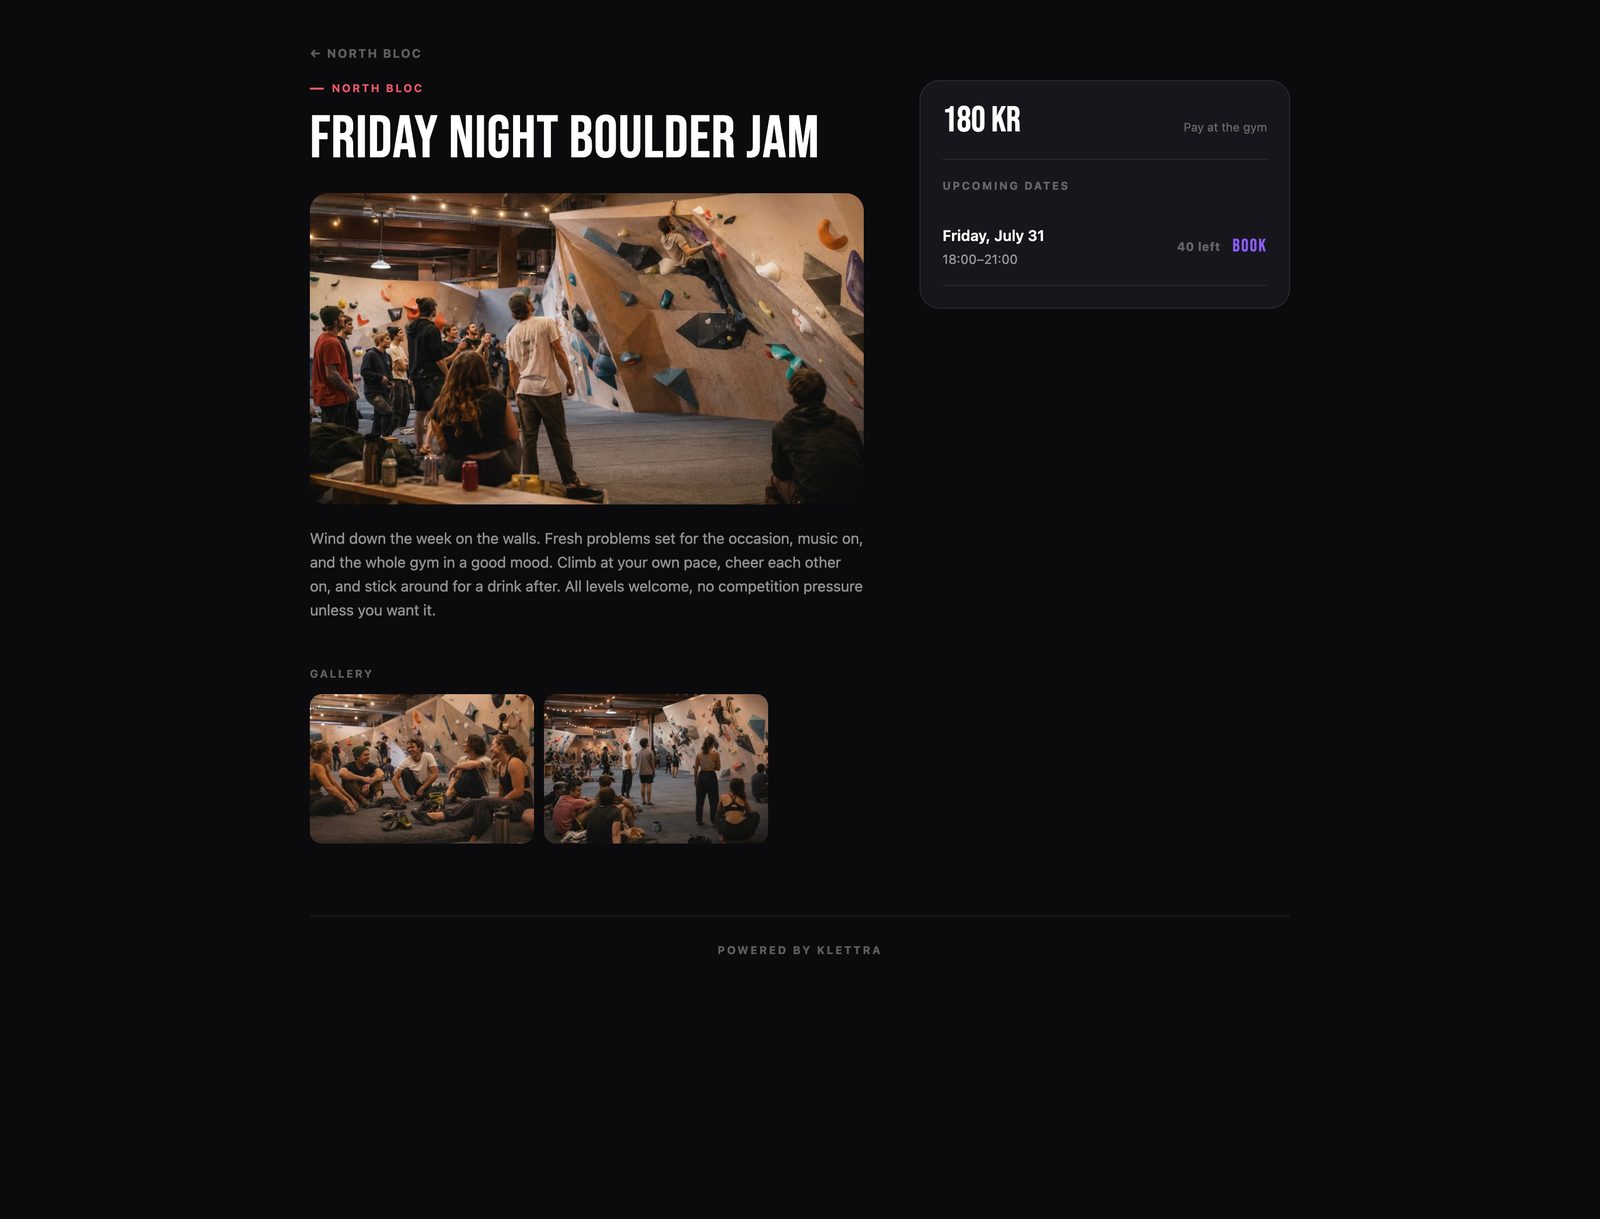
Once published, the event has its own clean page: the cover photo, the description, the date, how it is paid, and how many spots are left. Share the link and people can book in a few taps.
That is the whole flow
The same few steps set up every kind of booking. Browse the rest of the guides, or see how bookings work end to end.