
Print and sell tickets
Print stacks of QR tickets, sell online through one link if you want to, and publish. A paper ticket is a climber’s whole registration.
- Step 1
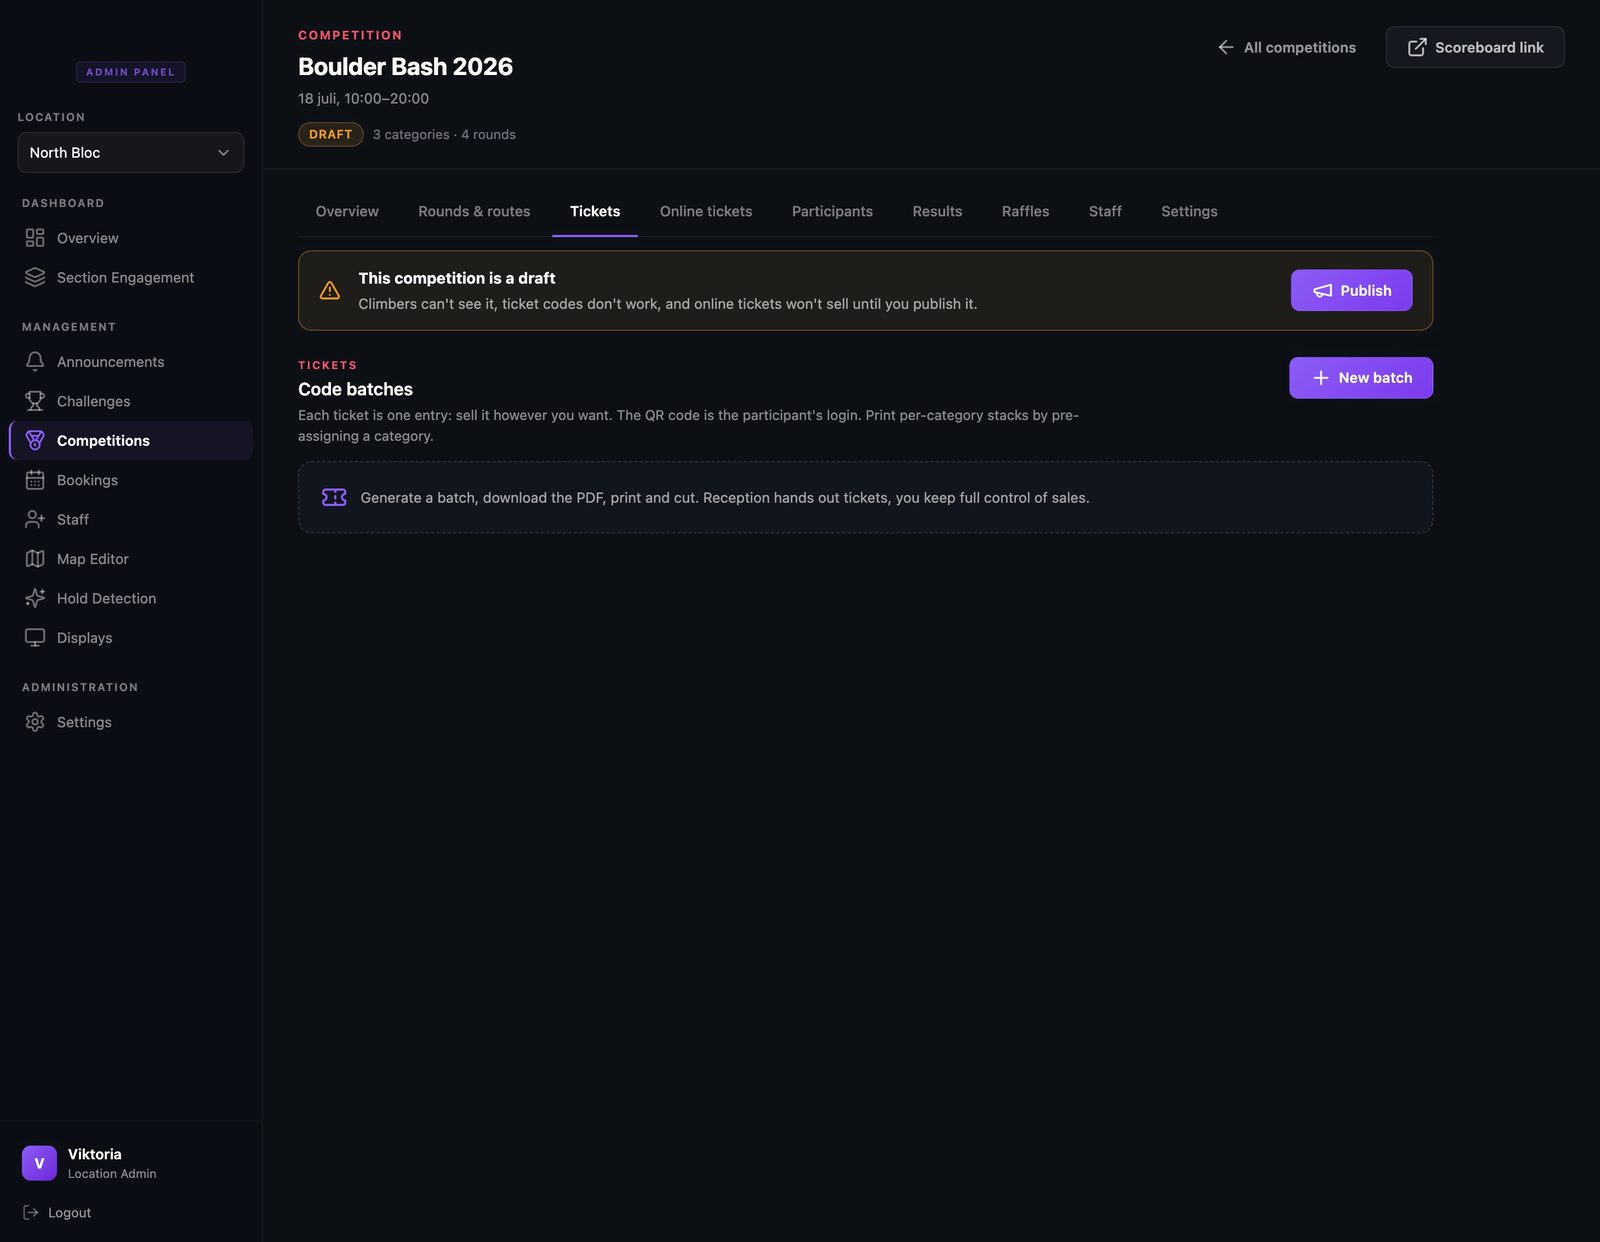
A ticket is the whole credential
Klettra comps run on printed tickets: a QR code with a short code under it. Whoever holds the ticket opens that entry’s scorecard, so climbers need no account, no app, and no online payment unless you want to offer it. The Tickets tab is where you make them.
- Step 2
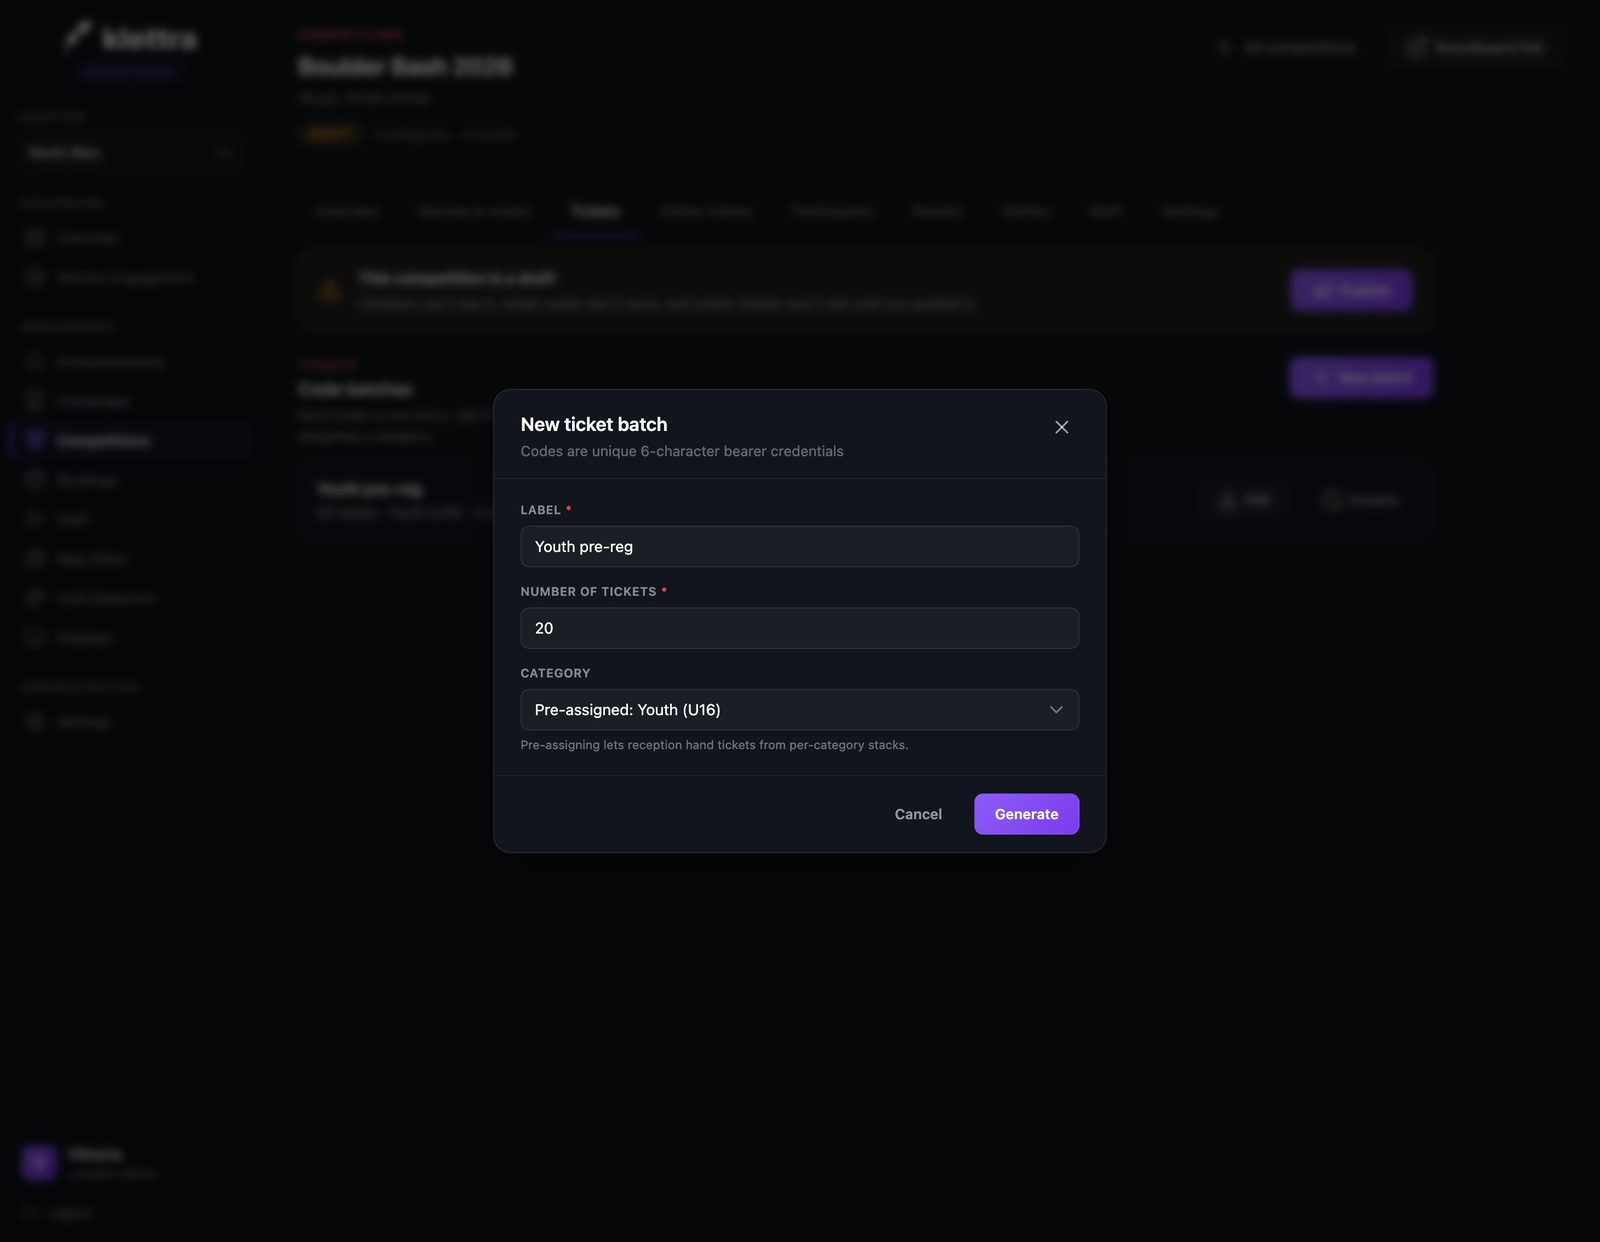
Make a batch
A batch is a stack of tickets with a label. This one makes twenty for pre-registered youth climbers, locked to the Youth category, so a stack at the desk maps to a category without anyone typing anything.
- Step 3
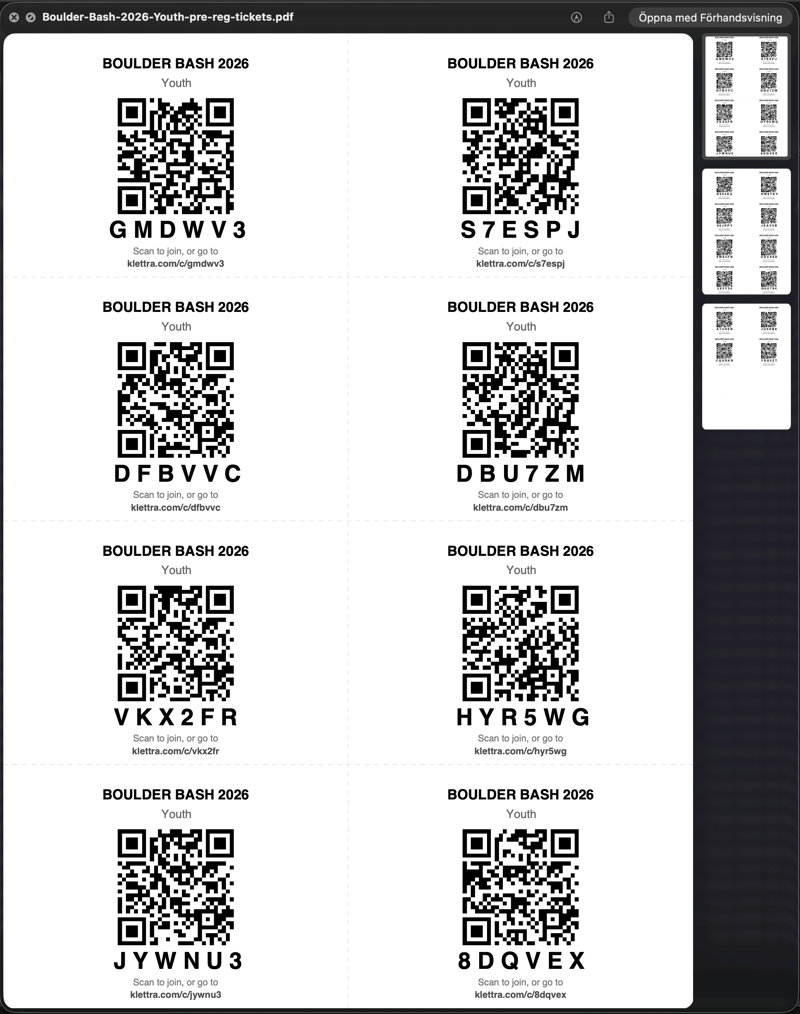
Print the sheet
Each batch downloads as a print-ready A4 sheet: cut guides, the comp name, and a QR with its code on every ticket. Print, cut, done. That pile of paper is your registration system.
- Step 4
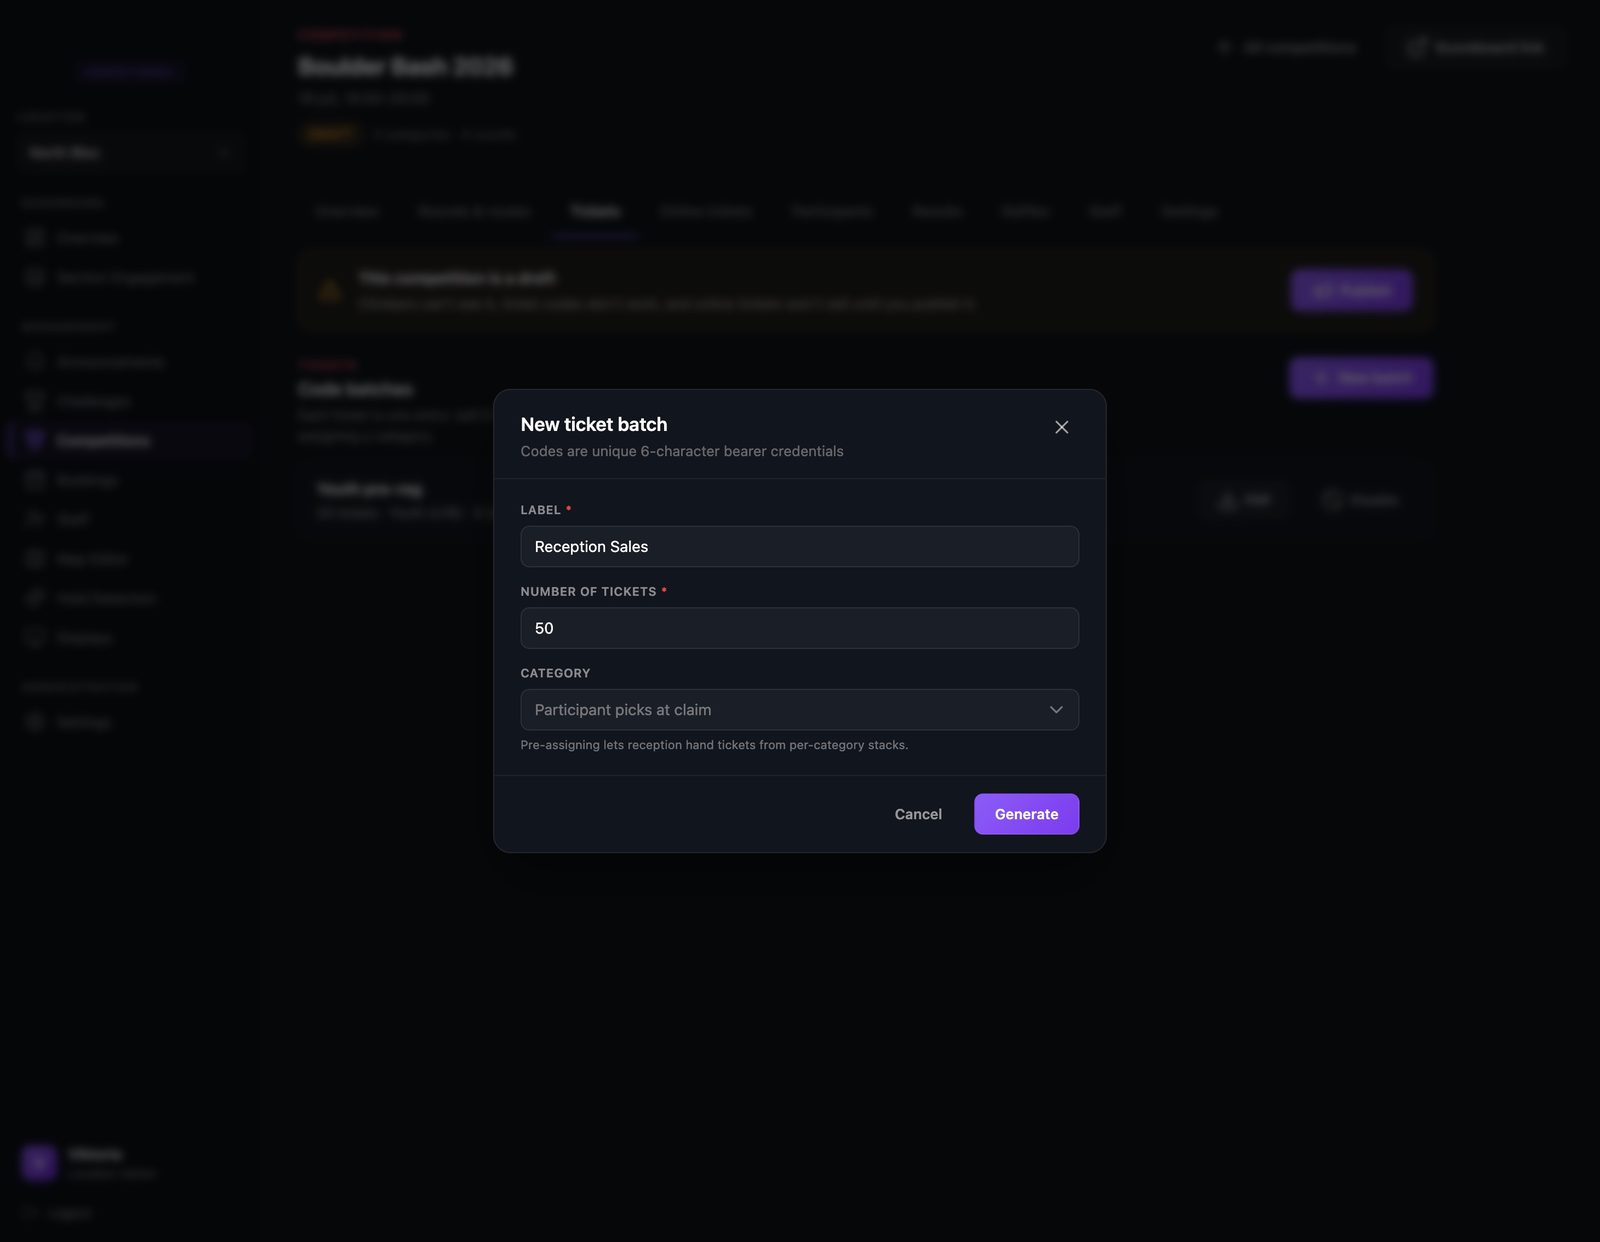
A stack for the desk
For walk-in sales, make a batch with no category attached. Climbers pick their category when they claim the ticket, so one stack at reception covers everyone.
- Step 5
Sell online too
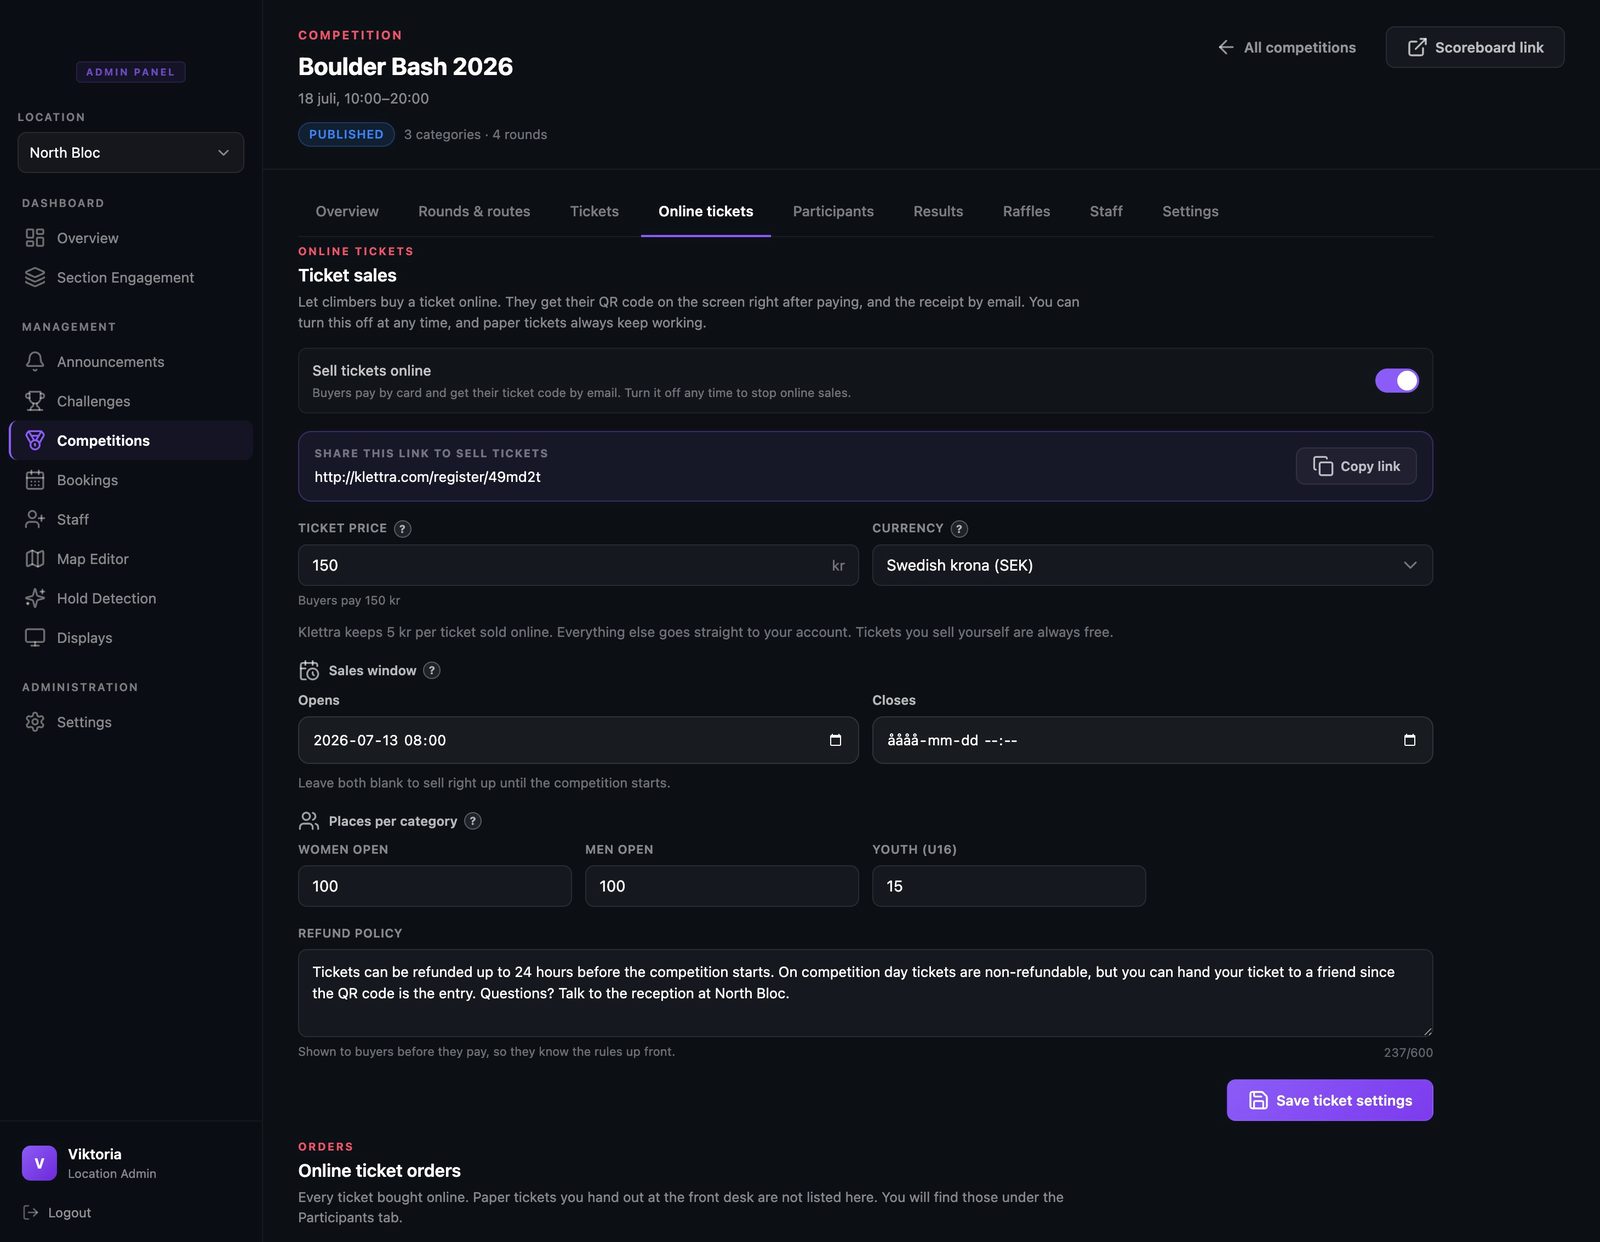
Flip on online sales and you get one link to share. Set the price, a sales window, and how many places each category has. Every online sale is paid straight into your own Stripe account, and what Klettra adds to your monthly bill for those sales is stated right on the screen. Tickets you print and sell yourself never cost anything.
- Step 6
What buyers see
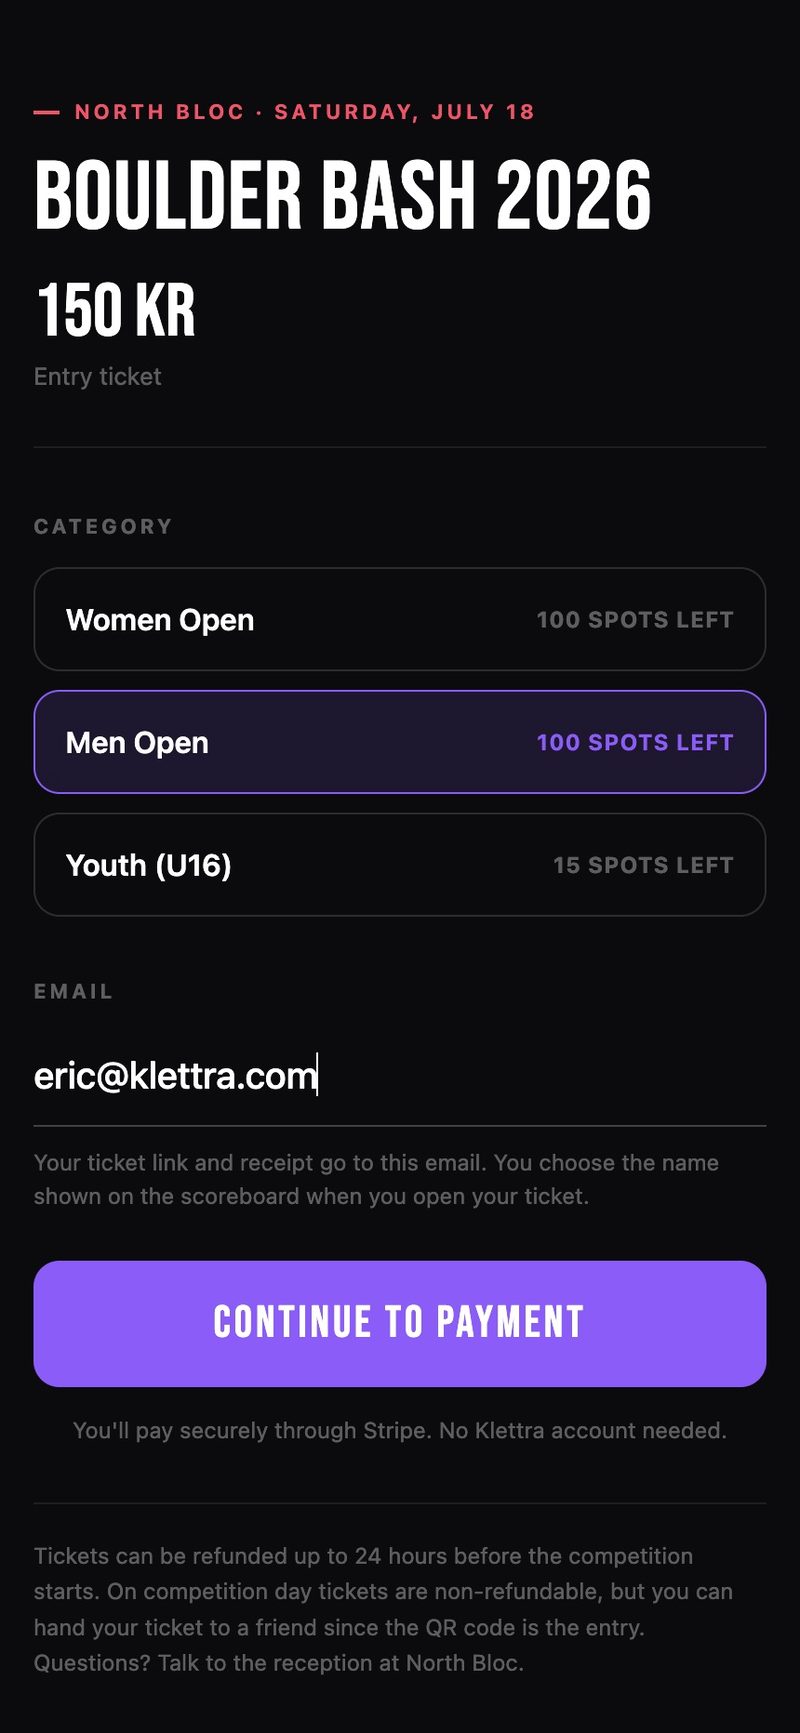
The buy page works on any phone: the comp, the categories with live spots left, and an email field. The payment goes to you and is handled securely by Stripe, and no Klettra account is needed.
- Step 7
The code is the ticket
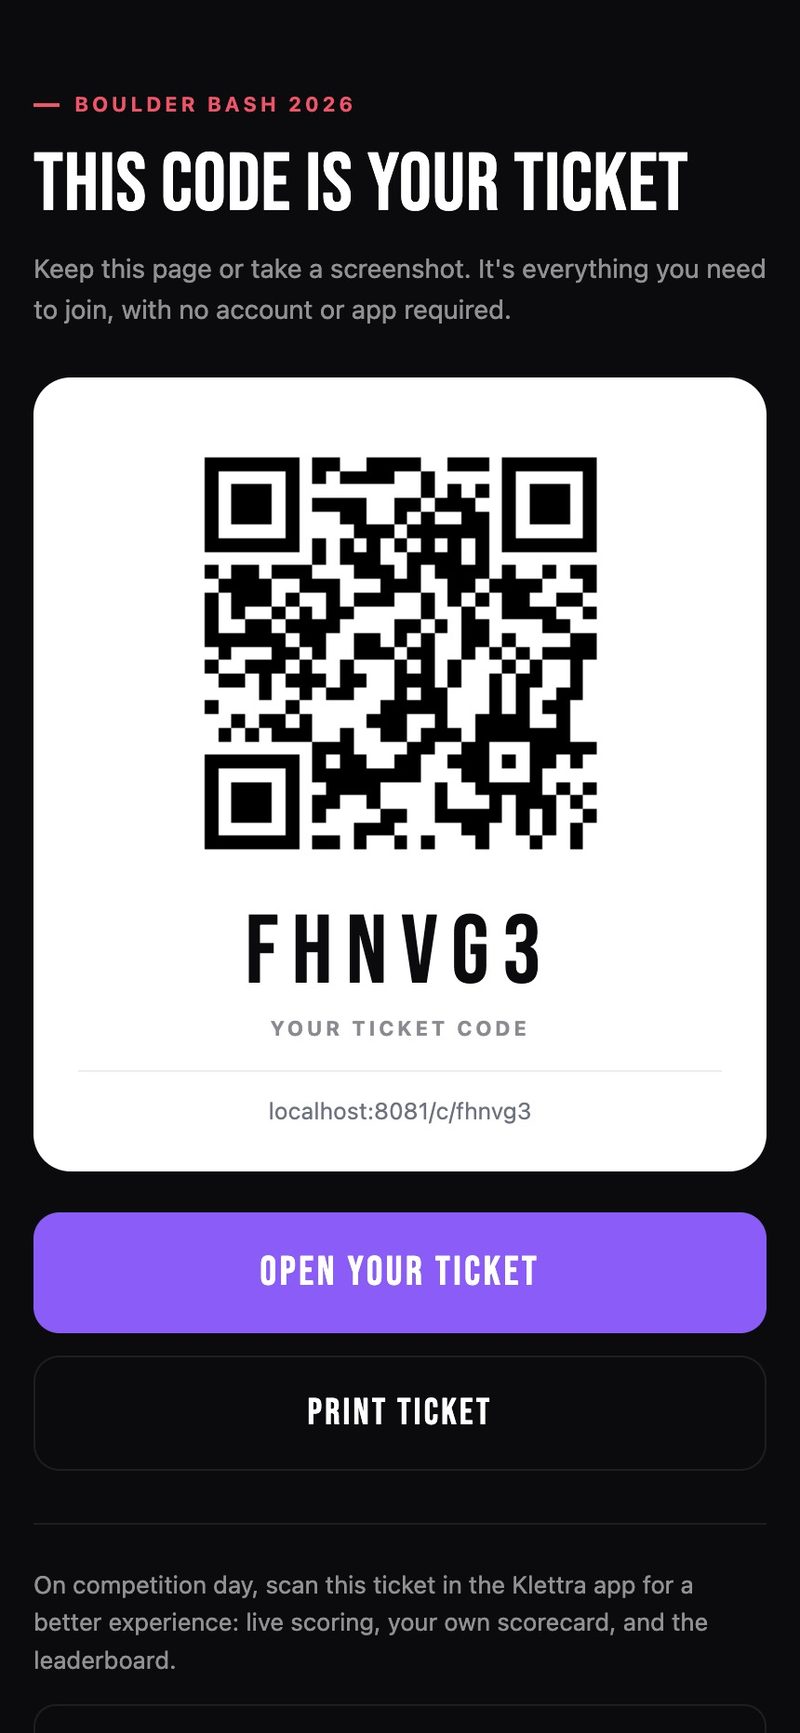
After paying, the buyer lands on their digital ticket: a QR and a code, with a print option. It works exactly like a paper one, and the desk can always look the order up by email if someone loses it.
- Step 8
Publish
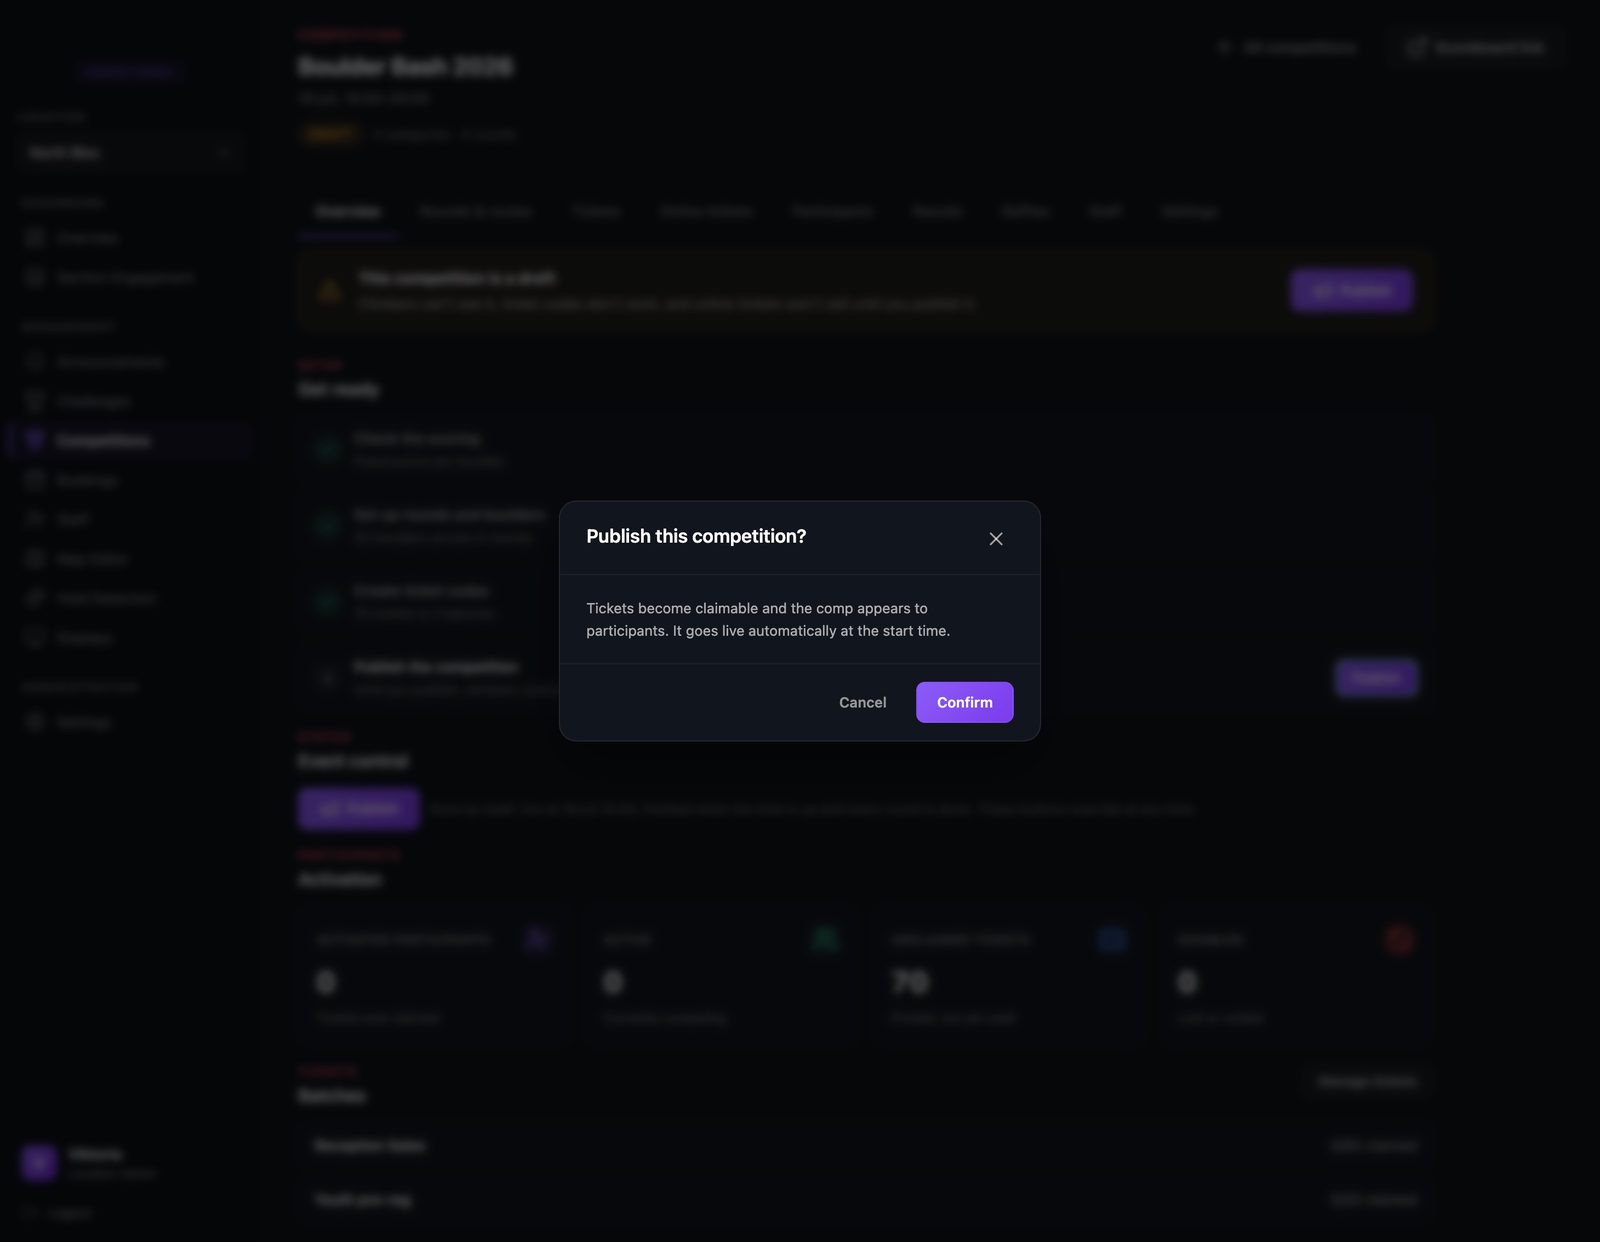
Publishing is a deliberate step with a plain-language confirmation, so nothing goes live by accident. Once you confirm, tickets become claimable and the comp will go live by itself at the start time.
- Step 9
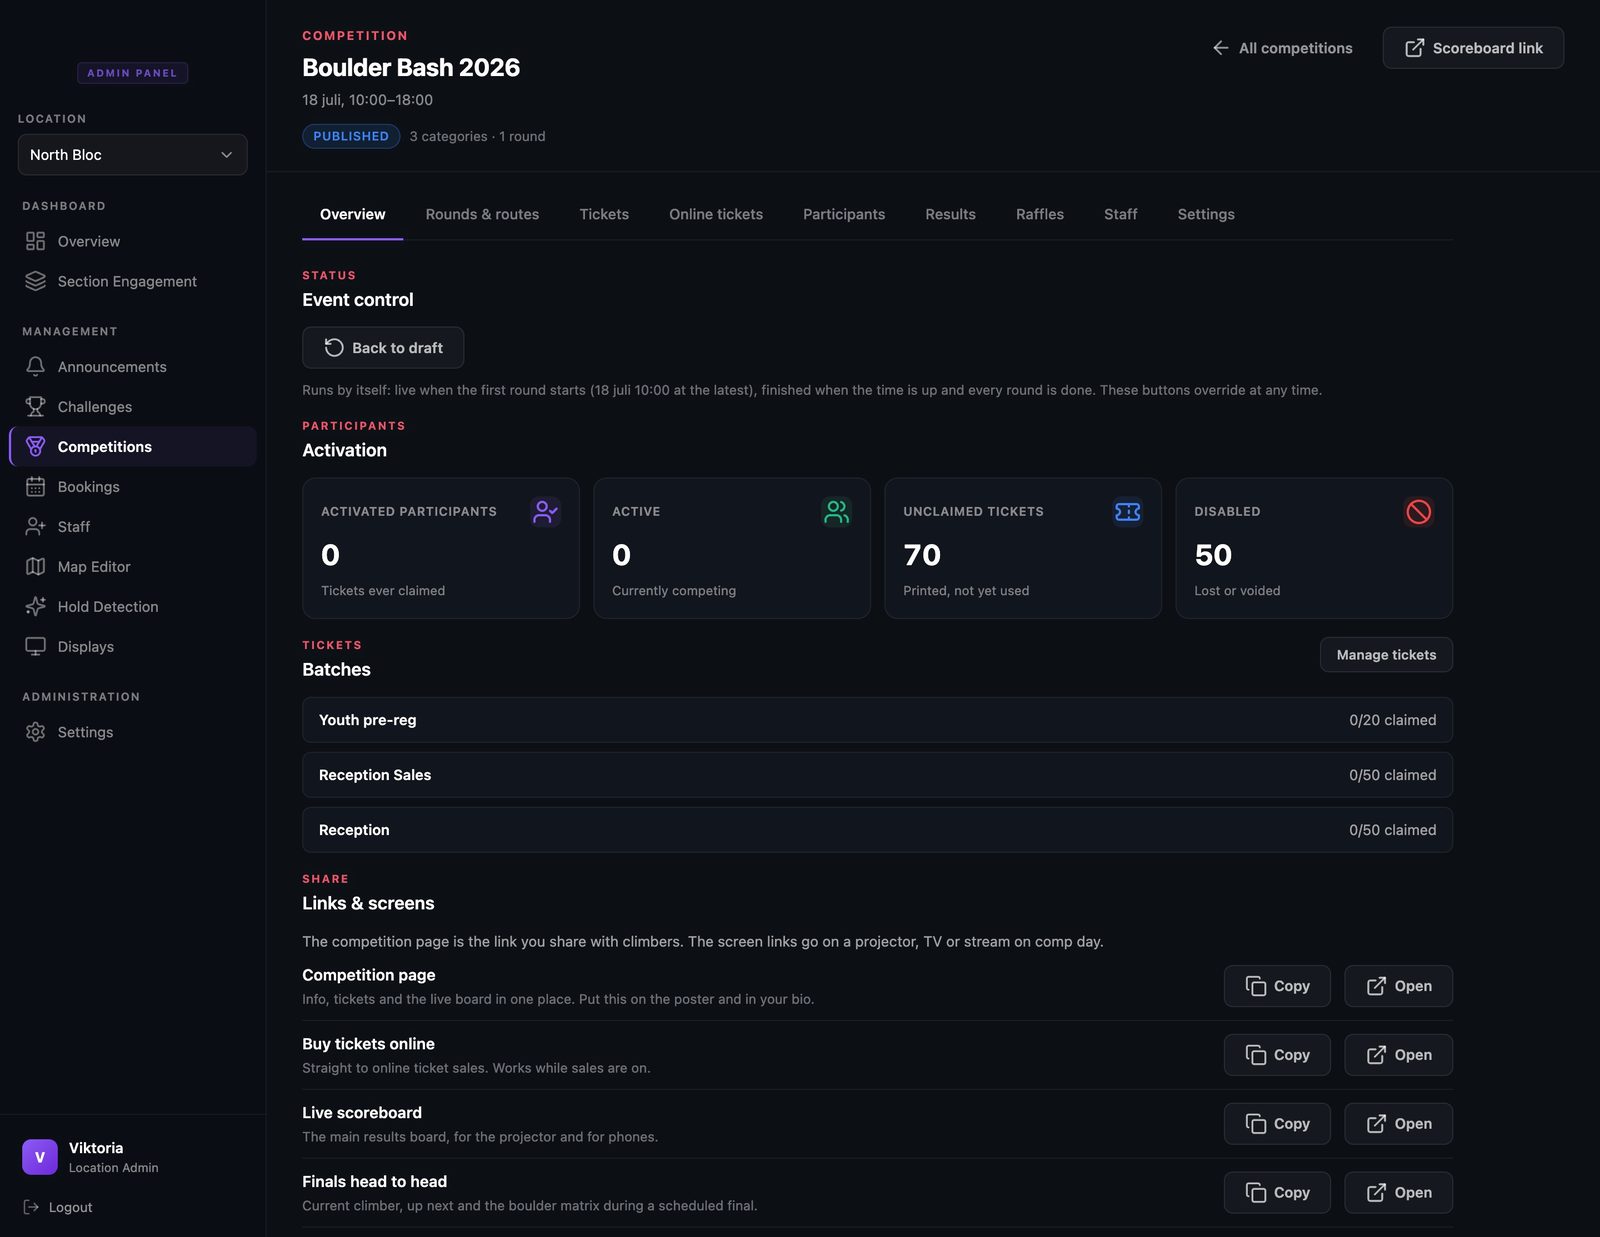
Published and ready
That is the setup done. The checklist is gone, the batches show their claim counts, and there is nothing to babysit: the comp starts when its first round does.
That is comp day, covered
Each guide covers one piece of the day. Browse the rest, or see how the whole competition system fits together.